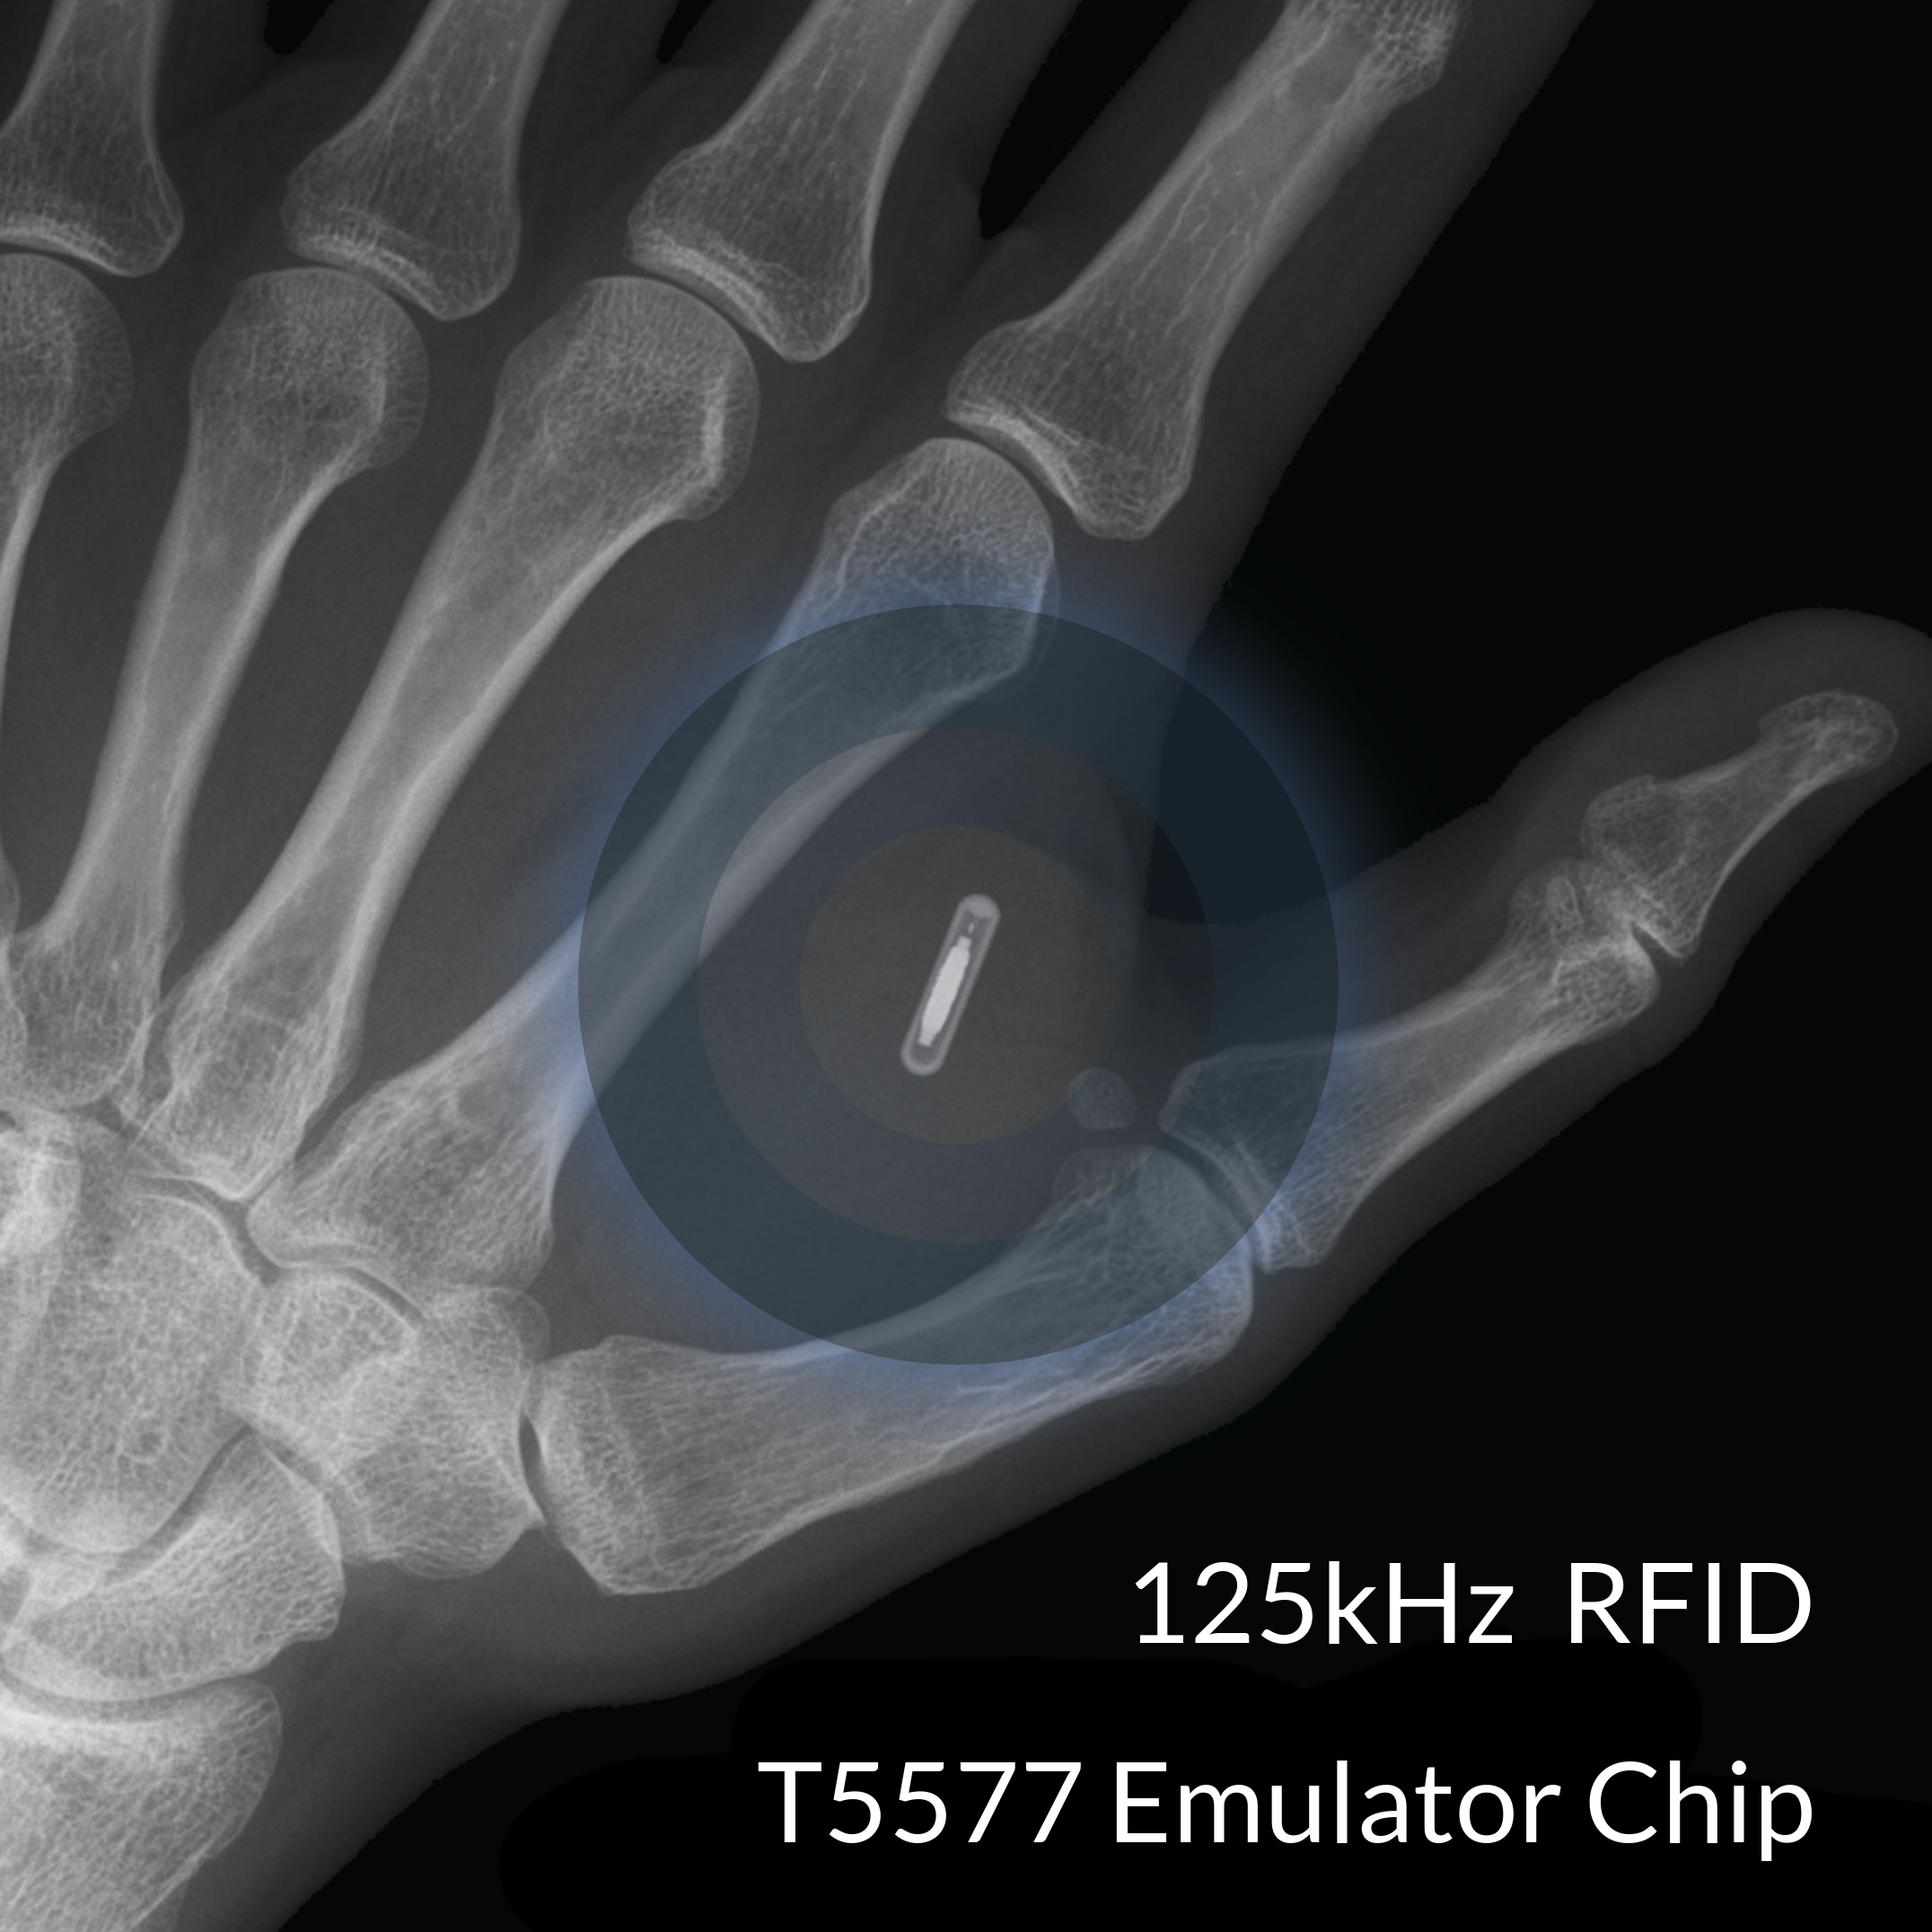

xEM RFID Chip
- 2.1x12mm bioglass encased 125kHz Atmel T5577 RFID chip
- Want an analog? Check out the STL.
- Can emulate common EM41xx, EM4200, HID, Indala (and more!) chips
- Proxmark3 can clone common 125kHz badges, fobs, cards, etc. to the xEM!
- xEM chip is preprogrammed in EM41xx mode with a 40 bit unique ID
$25.00 – $195.00
More Details
WARNING This kit definitely contains dangerous things. While our x-series chip implants have undergone several quality checks during manufacture, and have been put through a battery of tests, they have not been certified by any government regulatory agency for implantation or use inside the human body. Use of this device is strictly at your own risk.The xEM implant contains a 125kHz T5577 RFID chip emulator that can behave like many different common low frequency chip types, including EM41xx, EM4200, HID 1326 ProxCard II, HID 1346 ProxCard III, Indala, Pyramid, Viking, AMV, Presco (and more) access cards and keyfobs. The xEM is a great introductory chip for people just getting into RFID projects. It is compatible with many inexpensive OEM and commercial low frequency RFID readers and stand-alone access controllers like our xEM Access Controller. Check out our video explaining how the T5577 works.
What can this chip implant do?
• Copy other LF chip IDs to this chip
• Some types of access control applications
What this chip implant can’t do
• Share data with NFC enabled smartphones
• Trigger events on NFC devices like smartphones
• Scan this chip implant to log into your computer
• Can’t make payments with this chip implant
• Chip implants can’t be used for GPS or tracking
Important Things To Know
It’s going in your body, you should learn about things like performance expectations, installation procedure, first steps after installation, etc.
 Passive RFID and NFC chips are batteryless, magnetically coupled devices that power themselves and communicate data over a shared magnetic field that the reader generates. This means their effective read range and performance depends entirely on how well the antenna coils of both the chip and reader couple with each other. This typically means the shape, size, and orientation of both antennas must be complimentary.
Unfortunately, most reader devices, including NFC enabled smartphones, typically have antennas designed with thin PCB traces made into blocky rectangular shapes that lay along a flat plane. These antenna designs are great for coupling with and reading large flat labels and access cards which also share this antenna shape, but they have a hard time coupling to the very small cylindrical antenna coil inside our x-series chip implants. Most mobile phones and reader devices do have “sweet spots” that must be located and used each time to get consistent results. You should not expect your USB reader or NFC enabled mobile device to achieve the same read range with our x-series chips that you normally get with an NFC label, sticker, or card.
Locating the “sweet spot”
Not only is the correct location of a sweet spot necessary to find, but also the correct orientation. The best performance is achieved when the x-series lays across the antenna pathway of the reader antenna coil so the length of the x-series chip implant is perpendicular to the reader antenna coil. To help find an effective location and orienation to get the best read performance for your x-series chip implant, we created the X Field Detector. This diagnostic device mimics the cylidrical x-series antenna coil winding and shows you the best possible location and rotation/orientation for holding your x-series transponder up to any reader by lighting up when the field coupling is strong enough to power the LED inside. Watch this video to understand how to use it.
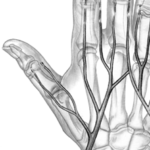 Our x-series transponders are typically installed into the webbing between the metacarpal bones of the index finger and thumb, resting parallel to the index metacarpal. They should be at least 5mm away from any bone or other implants to avoid possible impacts. The reason chip implants are usually installed in the hand has to do with the extremely short read range of most small chip implants. In the case of access control where the chip must be presented dirctly to a fixed reader of some kind, the hand is easily able to be properly positoned in front of the reader. To find out more about common installation locations of the hand, visit https://dngr.us/locations
 Achieving a safe installation definitely requires skill and experience performing aseptic procedures. Dangerous Things prefers our customers locate one of our professional body piercing or body modification partners to complete the installation of our products. If no partners are available in your area, you should be able to follow this guide to finding a professional in your area. For aftercare information and what to expect, please read our X-Series FAQ page.
 xEM Kit Contents
The xEM kit contains the following products and materials, which are designed to enable you to bring the kit to a professional installation partner for installation.
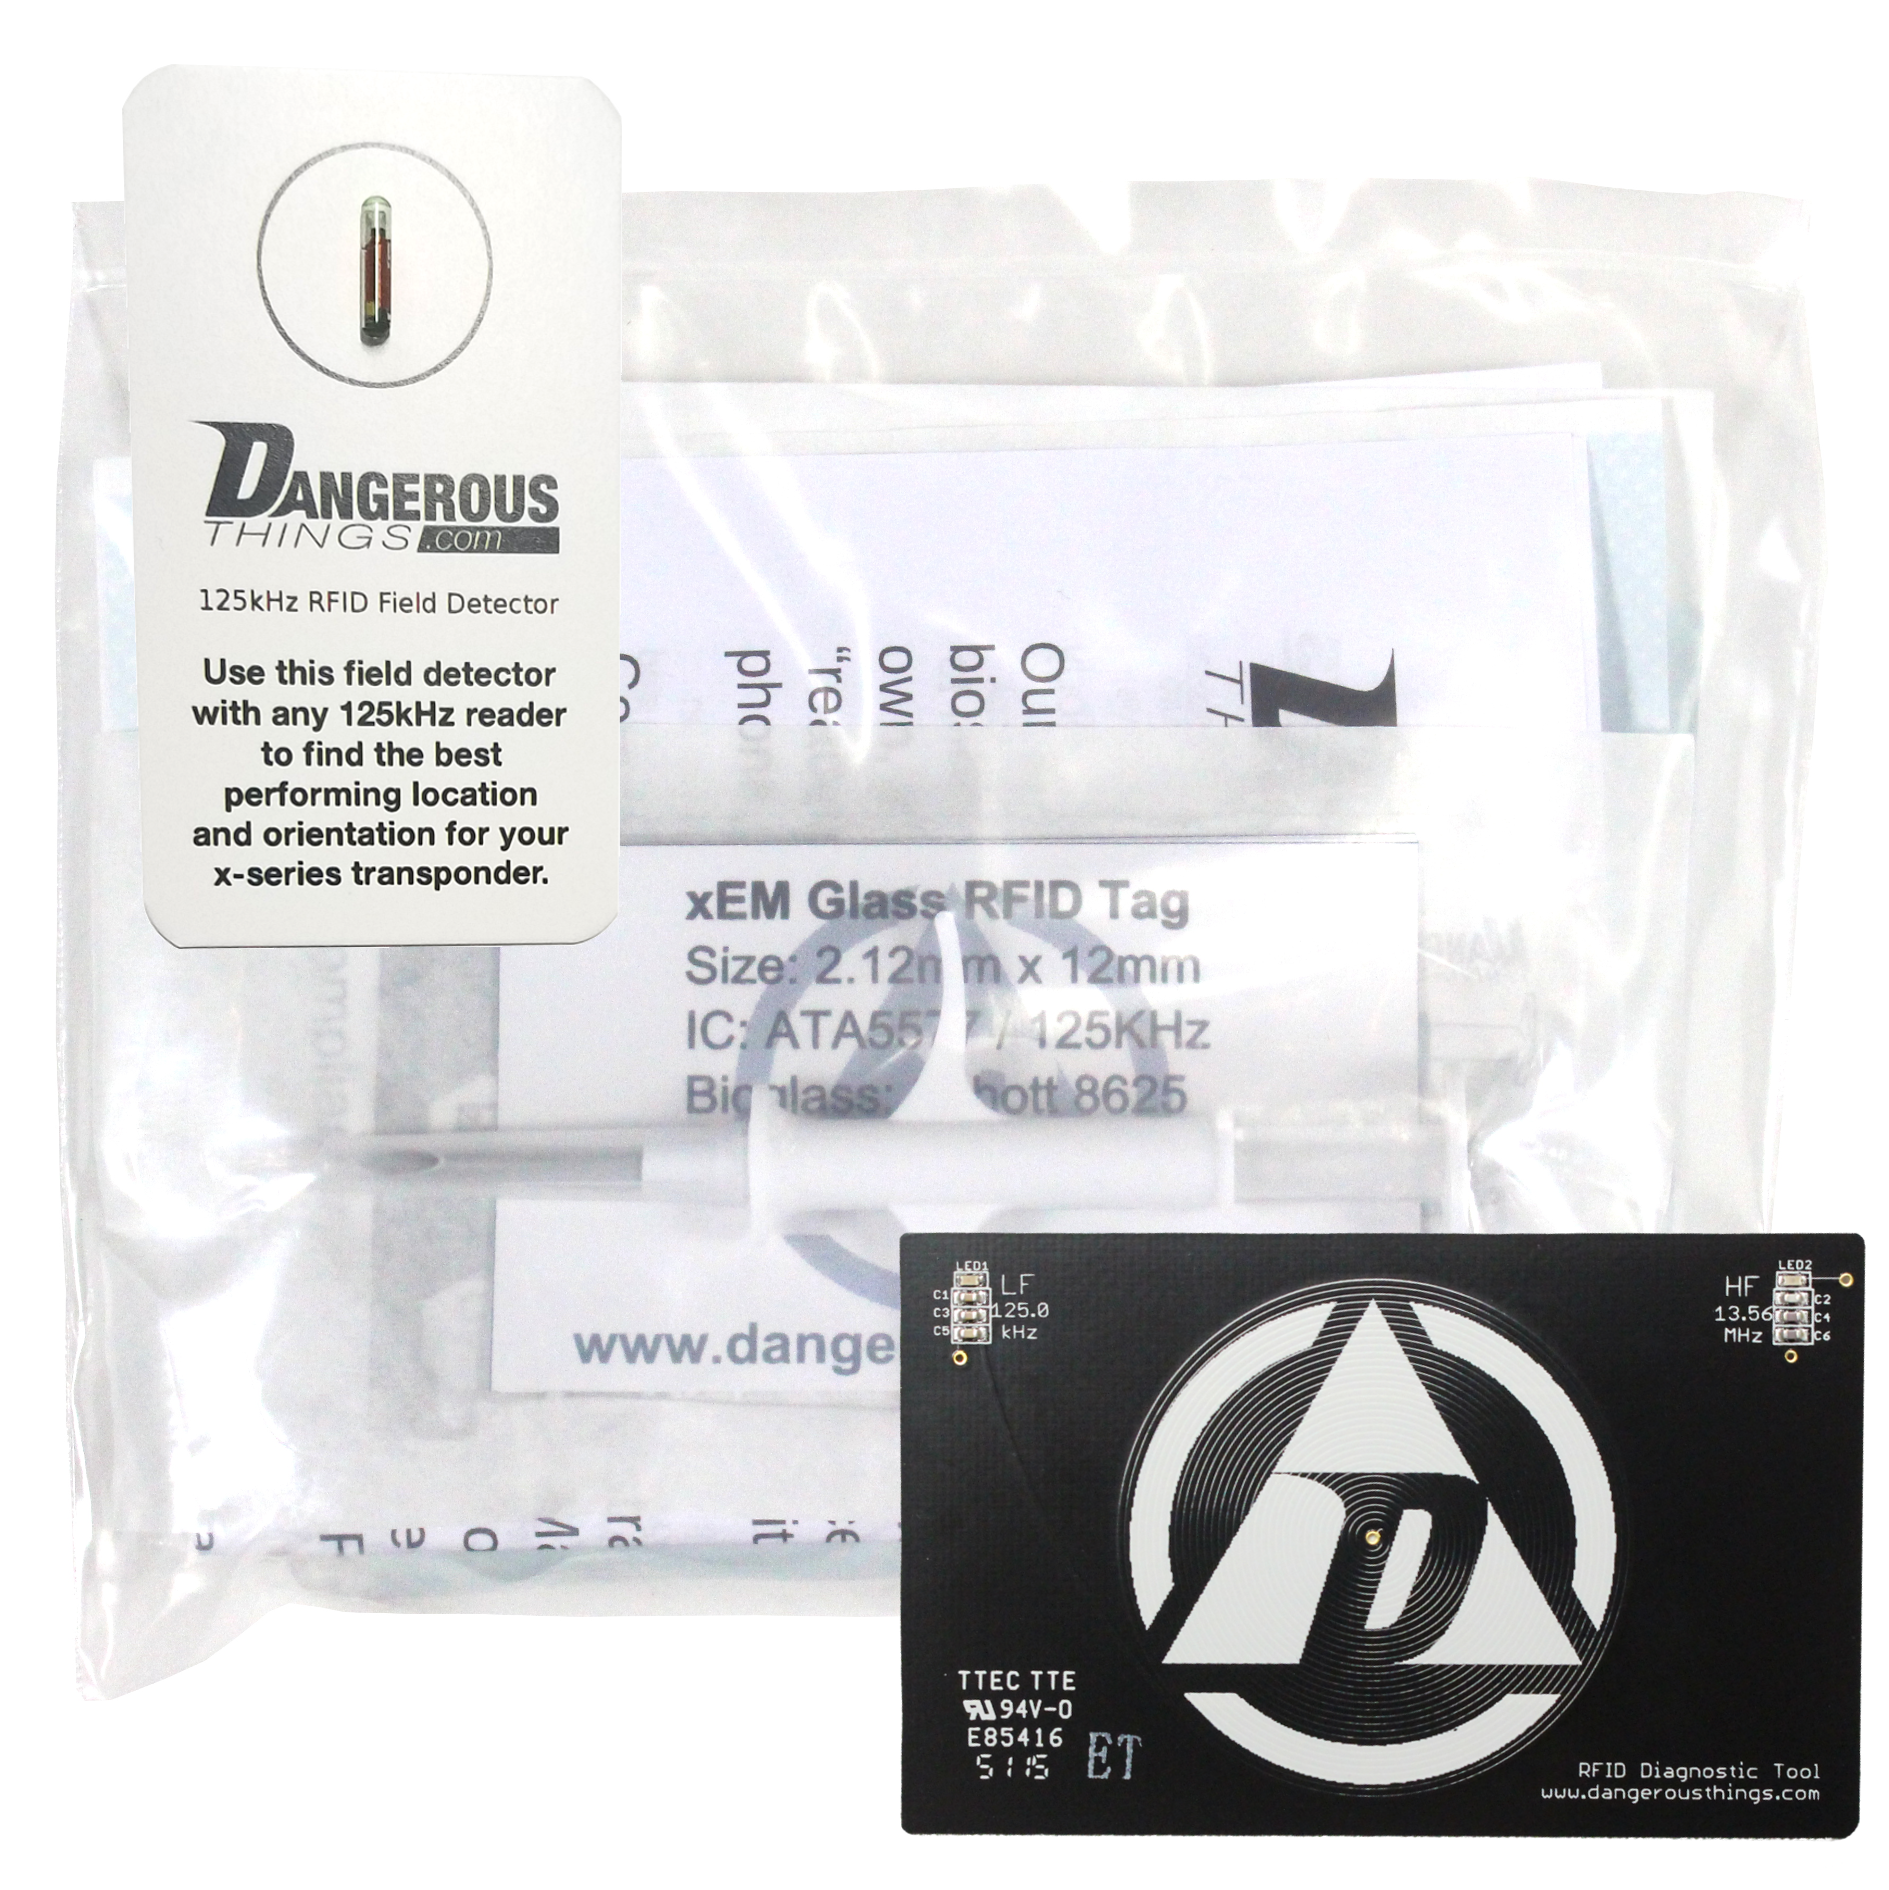
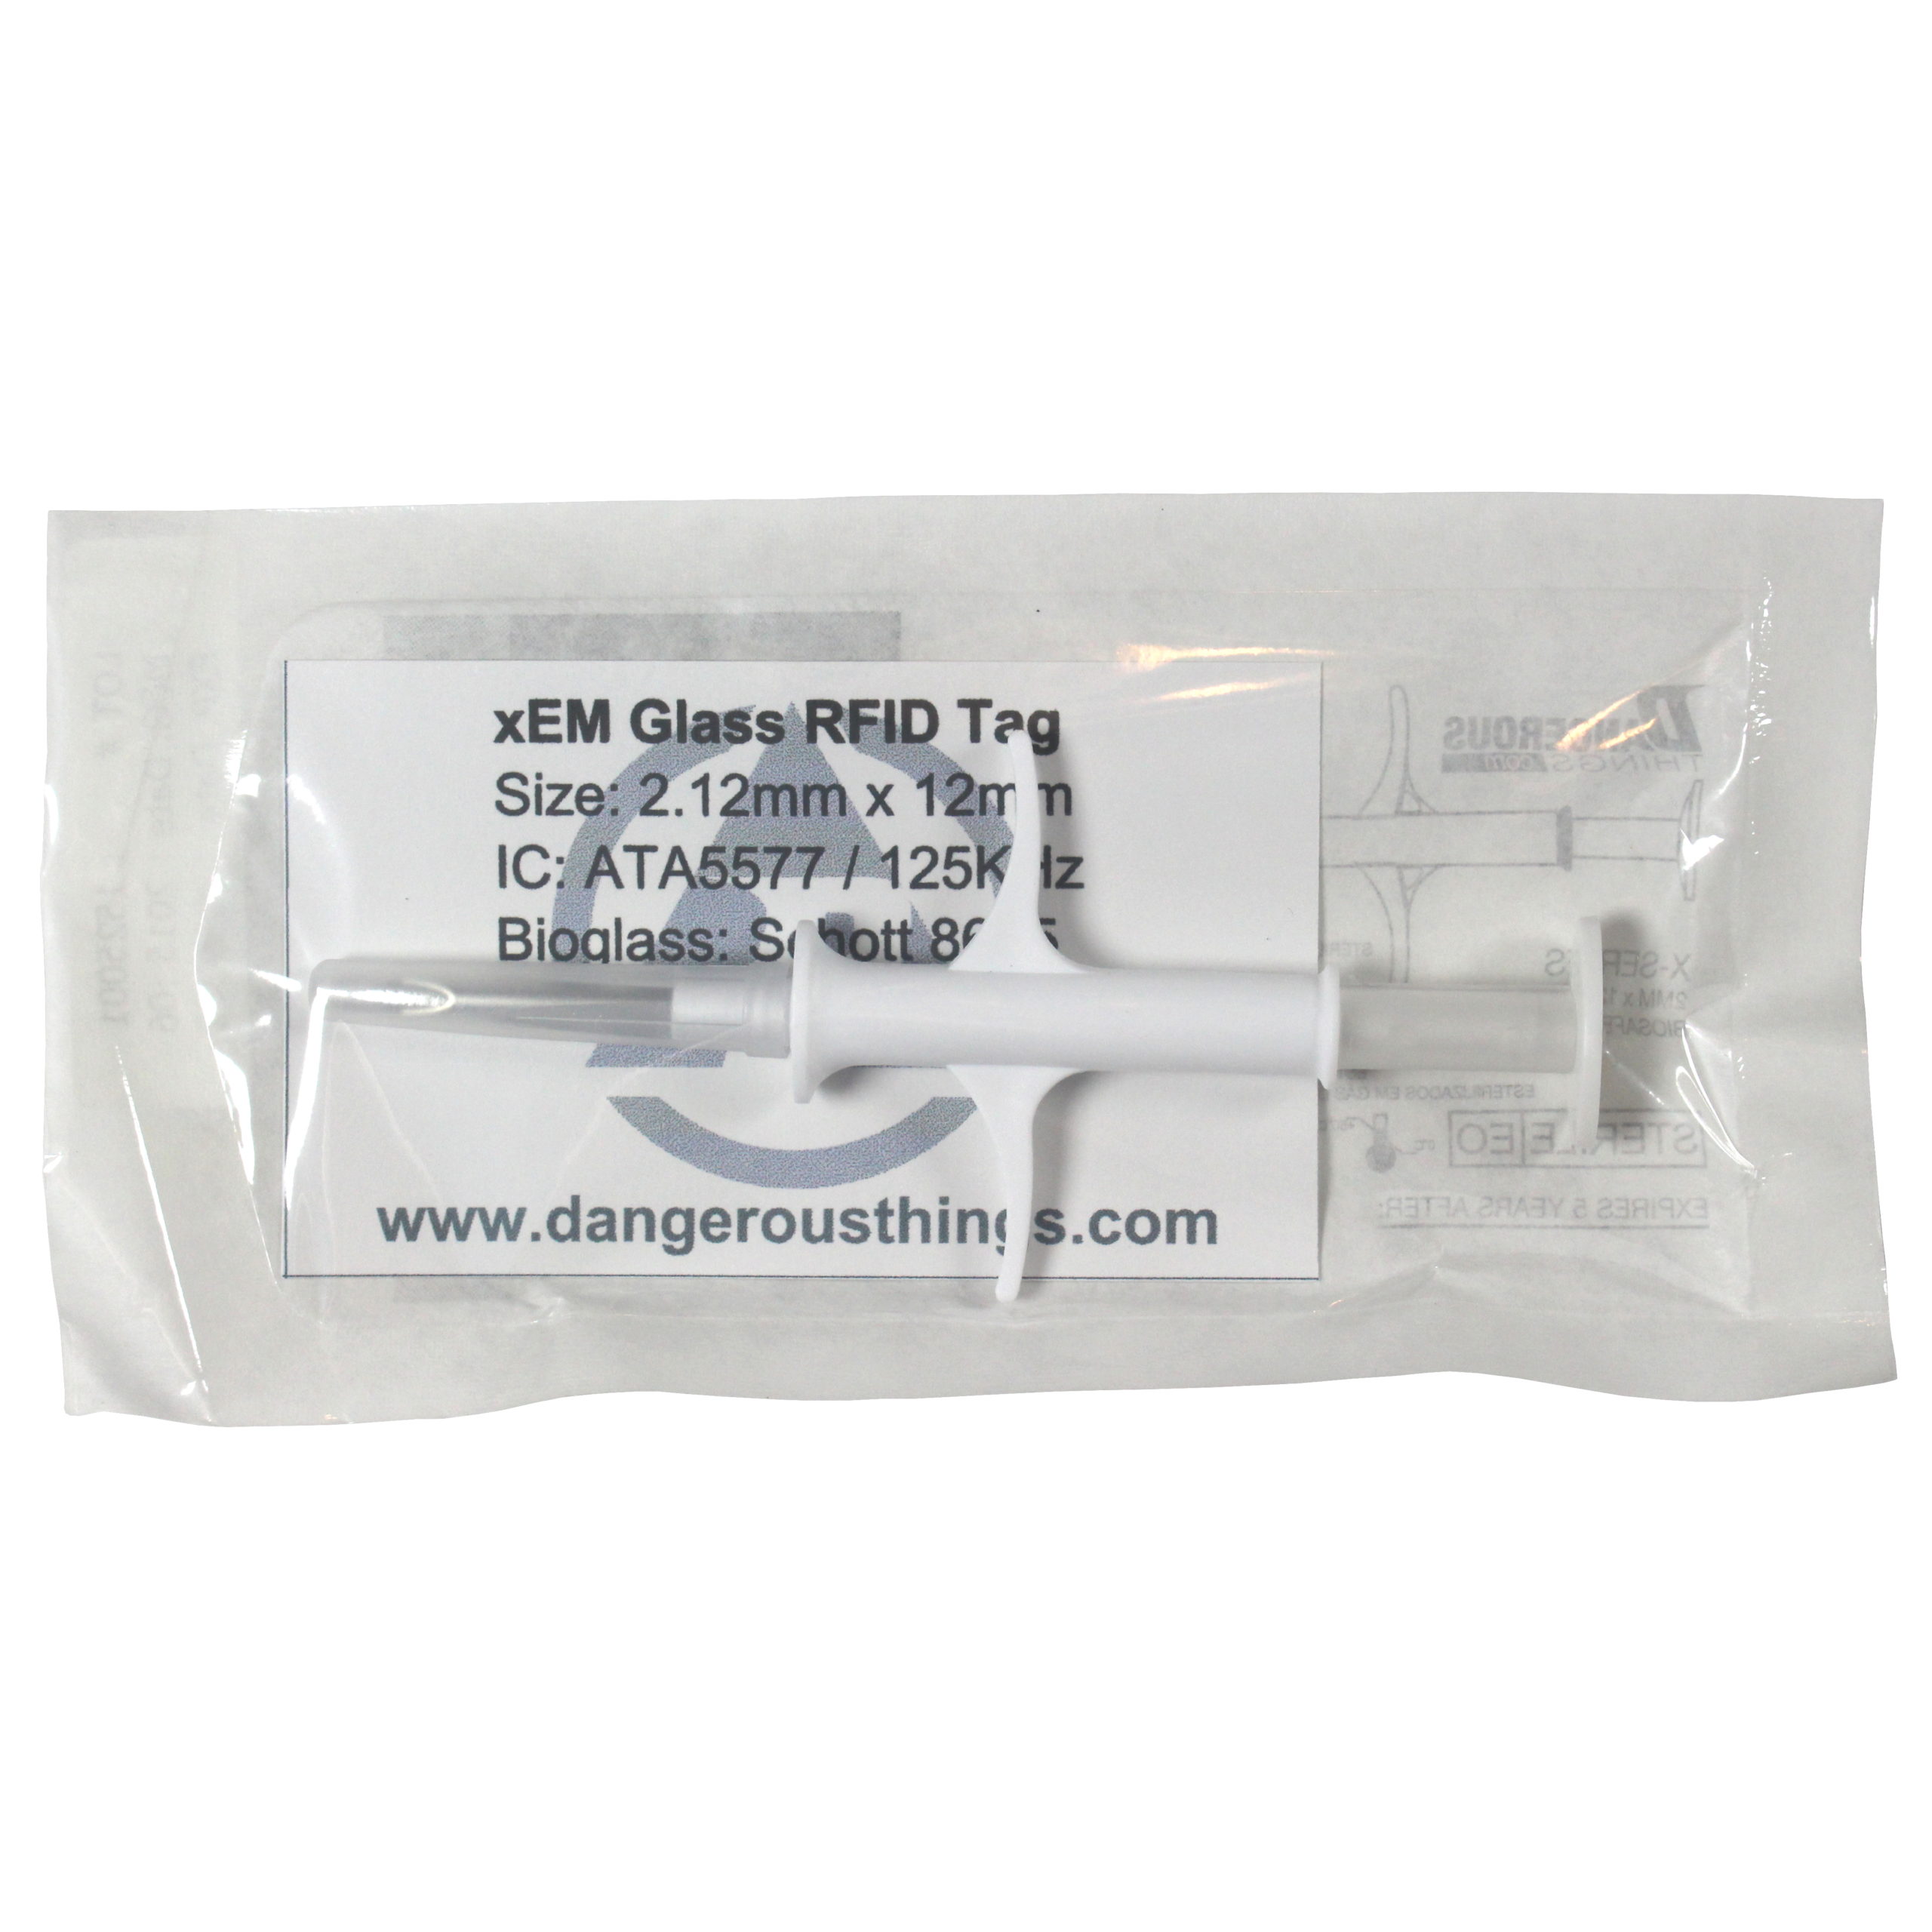
- 1 sterile injector assembly, pre-loaded with xEM chip implant
- 2 single use ChloraPrep antiseptic wipes
- 1 sterile gauze pad for post-installation wound care
- 1 sterile expandable-fabric adhesive bandage
- 1 pair of non-sterile, non-latex procedure gloves
xEM Kit Extras
The following accessories also come with the xEM Kit. These accessories are “field detection” tools designed to assist you with identifying the type of readers you may encounter, but also the best location and orientation to present your xEM chip implant to any reader to get reliable performance.
- 1 RFID Diagnostic Card
- 1 125kHz X Field Detector
Our X Field Detectors (XFD) will show you the best position and orientation to present your chip implant to any readers of the same frequency, while our RFID Diagnostic Card will tell you all about the frequency and duty cycles of random readers you encounter in the wild.
Example Use Cases
xEM Garage Door Opener
xEM Motorcycle Ignition
xEM Secret Wall Safe